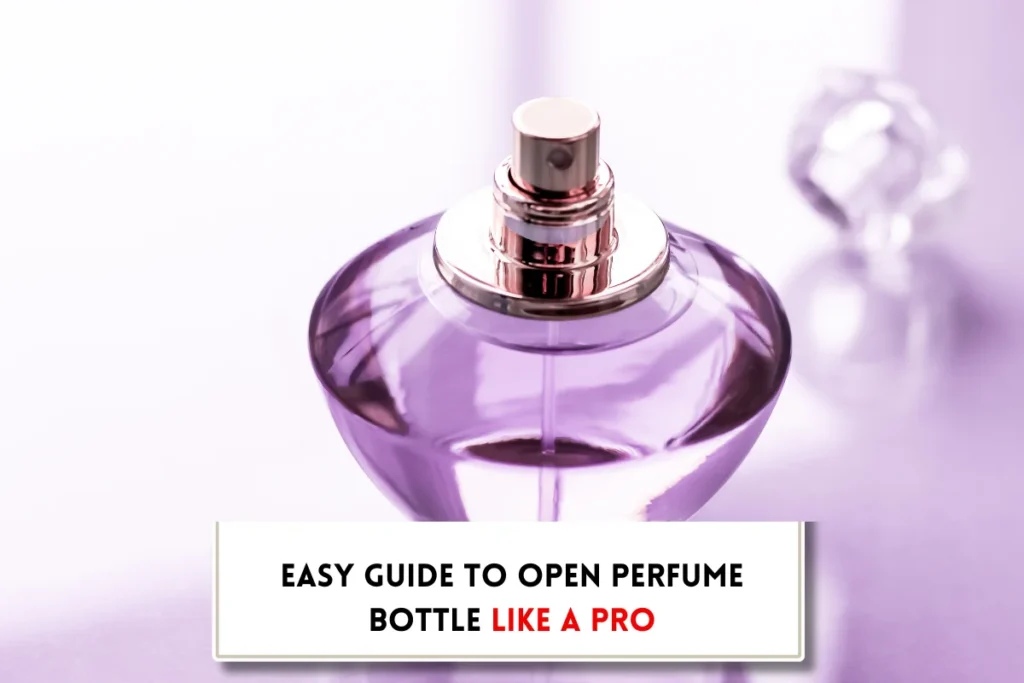
Uncorking fragrance – A guide telling how to open perfume bottle like a pro?
At BeautyCaters, our expert team independently curates every recommended product. Purchases through our links may earn us a commission. Explore our transparent selection process.
You’ve just bought a gorgeous new perfume, or perhaps you’re revisiting a beloved classic, and… the bottle won’t open! That moment of frustration when a stubborn cap stands between you and your favorite scent is all too common. But what if we told you unlocking your perfume bottle could be simple, even satisfying? Get ready to master the art of how to open perfume bottle with our easy, effective tricks!
- Different types of perfume bottles
- How to open perfume bottle?
- How to open a traditional spray bottle?
- How to open a rollerball bottle?
- How to open a stopper perfume bottle?
- How to open an atomizer bottle?
- Type 3: Atomizer Bottles with a Removable Sprayer (Often for Essential Oils/DIY)
- How to open stubborn perfume bottles?
- FAQs about perfume bottle
- Final Word
Different types of perfume bottles
When you’re choosing a new perfume, the design of the bottle is often the first thing that catches your eye. But these vessels are more than just pretty faces; their functionality can dramatically change your fragrance ritual. Come let’s understand the varied perfume bottle types so you appreciate the craftsmanship and choose the perfect bottle for your needs.
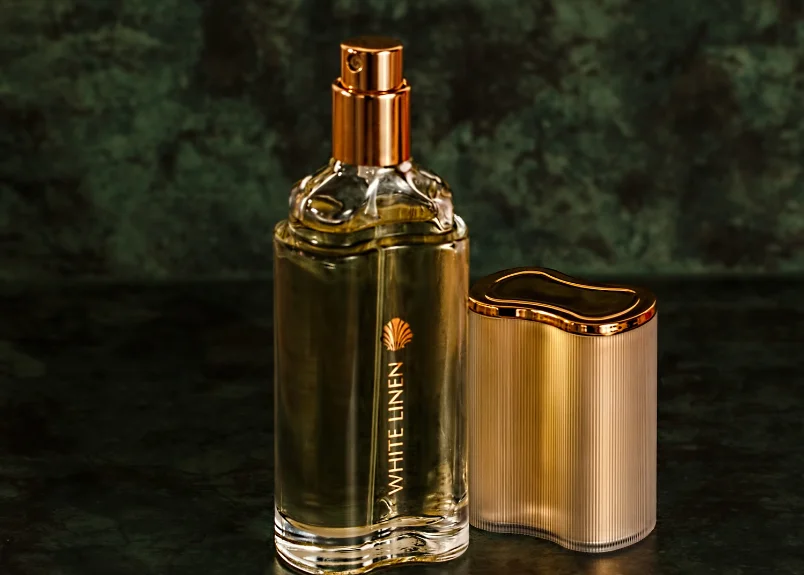
Traditional Spray Bottles
You probably have several of these on your vanity right now! Traditional spray bottles are the most popular choice for a reason. Their intuitive design features a simple nozzle that, when pressed, dispenses a fine mist of fragrance. This even distribution makes them ideal for applying perfume broadly to pulse points or even creating a “fragrance cloud” to walk through. They’re a staple for everyday wear and special occasions alike, offering convenience and control.
Rollerball Bottles
Looking for a more targeted application? Rollerball bottles are your go-to! These sleek, compact bottles feature a small ball at the top that glides smoothly over your skin, depositing the perfume directly onto your chosen spot. They’re perfect for precise application on pulse points like your wrists and neck, making them incredibly discreet and ideal for travel or touch-ups throughout the day. No more accidental over spraying!
Stopper Bottles
Step back in time with the classic allure of stopper bottles. Often associated with vintage or high-end luxury perfumes, these bottles exude an air of sophistication. Instead of a spray mechanism, they feature a glass or plastic stopper that fits snugly into the bottle’s neck, sealing the fragrance. To apply, you typically dab the stopper onto your skin. Owning a stopper bottle feels like a little piece of history, adding an elegant ritual to your perfume application.
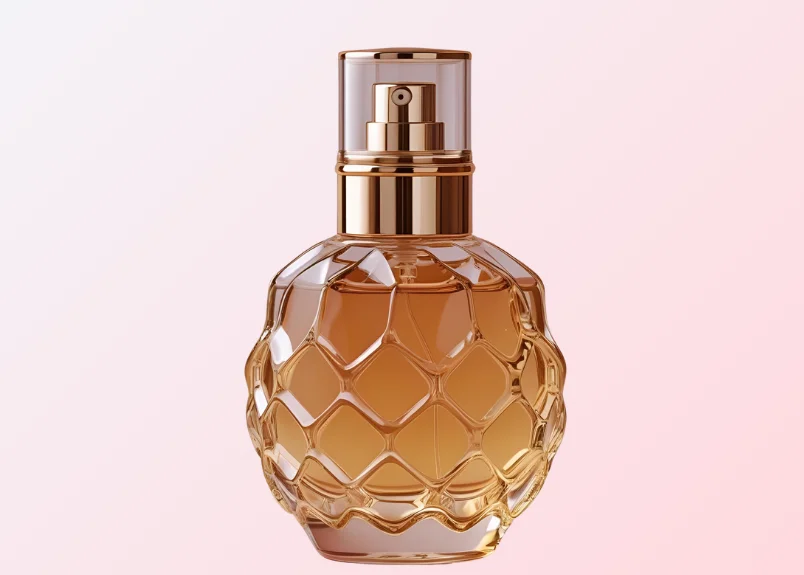
Atomizer Bottles
Eco-conscious and elegant, atomizer bottles are gaining popularity for their refillable nature. These distinctive bottles often come with a decorative bulb that you squeeze to release the perfume in a fine mist. This method provides a controlled spray and adds a touch of old-world glamour to your routine. Atomizers are fantastic for decanting your favorite fragrances, ensuring you can take your beloved scent with you without carrying the original, often bulky, bottle. They’re also a stylish way to reduce waste and keep your signature scent close at hand.
How to open perfume bottle?
Tools you need:
Sometimes, even the most beautiful perfume bottles can present a challenge: a cap that just won’t budge! Don’t let a stubborn stopper stand between you and your cherished fragrance. With the right approach and these simple tools, you can conquer even the most tightly sealed bottles without causing damage. After all, they’re designed to give you the leverage and gentle persuasion needed to open even the most recalcitrant closures.
- Rubber gloves for enhanced grip and protection: Your first line of defense against a tight cap is often already in your cleaning cabinet! A pair of rubber gloves (the kind you use for washing dishes) can make all the difference. The textured surface of the gloves provides superior grip, allowing you to twist the cap with more force and less slippage. Plus, they offer a thin layer of protection for your hands and the bottle itself, preventing scratches or accidental drops.
- Warm Water: Sometimes, a little warmth is all it takes to loosen things up. If your perfume bottle has a particularly stubborn cap or stopper, try soaking just the cap area in warm water. The gentle heat can cause the cap material to expand ever so slightly, breaking the seal and making it easier to twist off. Be careful not to submerge the entire bottle, especially if it’s a spray, to avoid getting water into the mechanism. A small bowl or mug works perfectly for this.
- A soft cloth: When you need extra leverage but want to protect the delicate glass of your perfume bottle, a soft cloth is invaluable. Wrap the cloth around the cap or the bottle itself to get a better grip without scratching the surface. It also adds a layer of cushioning, which is especially useful if you need to apply more pressure. An old tea towel or a microfiber cloth will do the trick.
- Pliers: For those truly exceptionally stubborn caps that resist all other methods, pliers might be necessary. However, this is a tool to be used with extreme care and as a last resort. If you opt for pliers, always wrap the cap thoroughly with a soft cloth or paper towel to prevent scratching or cracking the cap. Use gentle, steady pressure, and twist slowly. Remember, the goal is to loosen the cap, not to crush it or damage the bottle’s neck. A little patience and a soft touch are key here!
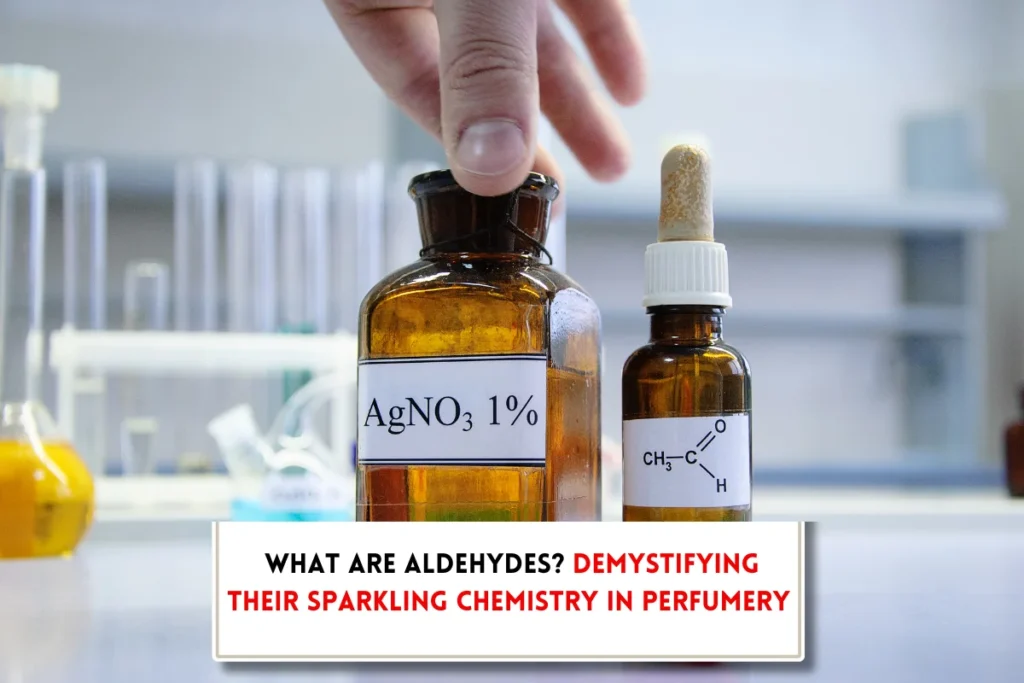
Also Read: What are aldehydes in perfume?
How to open a traditional spray bottle?
Step 1: The Cap Inspection – Screw or Snap?
Before you twist, pull, or exert any force, take a moment to inspect the cap. This crucial first step will dictate your next move.
- Is it a screw-on cap? Look for subtle ridges or threads around the base of the cap where it meets the bottle. If you see these, it’s highly likely you’ll need to twist it open.
- Is it a snap-on cap? These caps often have a smoother appearance at the base, designed to create a tight seal by simply pressing down. You might even see a slight lip or tab that indicates it’s meant to be pulled off.
This quick visual check saves you from unnecessary struggle and potential damage to your bottle!
Step 2: The Cap Removal – Twist or Pull?
Now that you’ve identified your cap type, it’s time for the big reveal!
- For Screw-On Caps: The classic move! With a firm but gentle grip on the bottle, twist the cap counterclockwise. Remember, “righty-tighty, lefty-loosey.” A few turns and you should feel the cap loosen and eventually lift off.
- For Snap-On Caps: No twisting needed here! Instead, gently but firmly pull the cap straight up and off. You might need to wiggle it slightly or apply a bit of pressure if it’s a particularly snug fit. Avoid yanking aggressively, as this could damage the cap or the bottle’s opening.
Voila! Your bottle is now open and ready for action.
Step 3: The Nozzle Check – Clear for Takeoff!
A clean nozzle ensures a consistent, fine mist every time, making your spraying experience seamless.
- Examine the nozzle opening. Is there any visible residue, dried product, or debris?
- If clogged, it’s cleaning time! Grab a cotton swab (a Q-tip works perfectly) and dampen it with a little rubbing alcohol. Gently insert the swab into the nozzle opening and swirl it around to dislodge any blockages. For tougher clogs, you might even try a thin pin or needle (carefully!) to clear the path.
How to open a rollerball bottle?
The initial steps are easy, but if you’re looking to refill or remove the rollerball mechanism, there’s a bit more to it.
Step 1: The Initial Cap Twist (The Easy Part!)
- Hold the bottle firmly: Grip the bottle securely in one hand. This provides stability as you work.
- Twist the cap counterclockwise: This is the standard method for removing the outer cap of most rollerball bottles. Turn it to the left until it comes off. At this point, you’ll see the rollerball mechanism itself. For most uses, simply removing the cap is all you need to do to apply the perfume.
Step 2: Testing the Rollerball (Ensuring a Smooth Application)
Before you worry about deeper access, always check if your rollerball is dispensing correctly.
- Roll the ball on your skin: Gently glide the rollerball across your wrist or another pulse point.
- Observe the dispensing: If the rollerball feels stiff, or isn’t dispensing, it might be due to dried product or a temporary “stick.” Often, rolling it firmly on your skin a few times, or even gently pressing down on the ball while rolling, can help loosen it up. Some sources suggest running the rollerball under warm water for a moment to help expand the plastic housing slightly.
Step 3: Access the Rollerball Mechanism (For Refilling or Deeper Cleaning!)
This is where it gets a little trickier, but entirely doable if you want to refill your bottle or give the rollerball a thorough clean. The rollerball itself is usually housed within a plastic insert that creates a seal.
- Identify the plastic insert: Look just below the rollerball. You’ll see a small plastic component that holds the ball in place.
- Gentle prying (the key!): This plastic insert is typically snapped into place, not screwed. You’ll need a thin, flat tool to gently pry it out.
- Ideal tools: A dedicated rollerball removal tool (available online), a sturdy but thin fingernail (be careful!), a credit card edge, a flathead screwdriver (very carefully!), or even a butter knife can work.
How to pry?
- Insert your chosen tool underneath the edge of the plastic insert.
- Apply gentle, upward leverage. Work your way around the edge if it’s stubborn, slowly lifting the insert until it pops out.
- Avoid excessive force. You don’t want to chip the glass bottle or damage the plastic insert. It should come out with a firm but controlled pry.
Once the plastic insert with the rollerball is removed, you’ll have an open bottle, perfect for refilling with a small funnel or a syringe.
Step 4: Refill and Reassembly (Bringing Your Bottle Back to Life)
- Refill: Carefully pour or inject your desired fragrance into the bottle. Leave a small amount of space at the top to prevent overflow when you reinsert the rollerball mechanism.
- Reinsert the rollerball: Place the plastic insert with the rollerball back into the bottle’s opening.
- Press down firmly: Apply even, downward pressure on the insert until you hear a “click” or feel it snap securely back into place. Ensure it’s flush with the bottle’s rim to prevent leaks.
- Replace the outer cap: Twist the cap back on clockwise until it’s snug.
Now you’re a pro at opening and even refilling your rollerball bottles!
How to open a stopper perfume bottle?

Ever wrestled with a stubborn stopper bottle, feeling like you need superhuman strength just to get a peek inside? You’re not alone! A stuck stopper usually means a tight seal, often due to changes in temperature, air pressure, or simply the stopper settling into the bottle’s neck over time. Here’s how to tackle it with finesse:
Step 1: Loosening the Grip
This is often the secret weapon for a stubborn stopper. The principle is simple: glass expands when heated. By gently warming the neck of the bottle, you cause the glass to expand ever so slightly, loosening its grip on the stopper.
- Run warm water over the neck: Hold the bottle under a faucet and let warm (not hot!) water flow directly over the neck of the bottle. Rotate the bottle slowly to ensure even heating. Continue this for about 30-60 seconds. Why warm, not hot? Extreme temperature changes can cause glass to crack or even shatter. We’re aiming for a gentle expansion, not a shock!
- Warm towel: If the bottle is too large or fragile to hold under a tap, you can wrap a warm, damp towel around the neck for a few minutes. You might even hear a subtle “ping” or feel the stopper loosen slightly as the glass expands. This is a good sign!
Step 2: The Gripping Strategy – Get a Handle on It!
Once the neck is warmed, it’s time to get a secure grip on that stopper. A slippery stopper is an uncooperative stopper!
Take a clean, dry, soft cloth (a dish towel, a piece of old T-shirt, or a rubber gripper works wonders) and wrap it firmly around the stopper. This provides extra friction and protects your hands if the stopper happens to be slippery or have sharp edges.
Why a soft cloth? Besides grip, it protects both your hands and the stopper from potential damage.
Step 3: The Twist and Pull – The Grand Finale!
With the neck warmed and a secure grip, you’re ready for the final, satisfying act.
Gently twist and pull. Hold the bottle firmly with your other hand, simultaneously twist the stopper gently counterclockwise, and pull upwards. Don’t just pull straight up! The twisting motion helps to break any lingering seal and create a small amount of space for air to enter, reducing the vacuum effect that might be holding it in place.
If it doesn’t budge immediately, don’t force it. Repeat the warming step (Step 1) and try again with gentle, increasing pressure. Sometimes, a series of gentle twists and pulls is more effective than one strong tug.
What if it’s REALLY Stuck? (Advanced Tips)
If the above methods don’t work, here are a couple of additional tricks:
- Tap gently: Lightly tap the top or sides of the stopper with the handle of a wooden spoon or a small piece of wood. The vibrations can sometimes dislodge it. Be extremely careful not to hit the glass bottle itself too hard!
- Lubrication (for glass stoppers): For glass-on-glass stoppers, a tiny drop of mineral oil or vegetable oil around the join can sometimes seep in and act as a lubricant. Let it sit for a while before attempting to twist and pull.
- Temperature (for the adventurous): For truly stubborn cases, after warming the neck, you can try placing a few ice cubes on top of the stopper itself (making sure no water enters the bottle if it’s not meant to). The sudden cooling of the stopper might cause it to contract slightly, breaking the seal. Follow this immediately with the twist and pull.
How to open an atomizer bottle?
When we talk about “atomizer bottles,” we usually refer to those that produce a fine spray, often for perfumes, essential oils, or even some cleaning solutions. The method of opening largely depends on the type of atomizer you have.
Type 1: The Classic Screw-Top Atomizer (Most Common!)
This is the most straightforward and widely encountered type. If your atomizer looks like a regular perfume bottle with a spray top, this is likely your method.
- Locate the atomizer cap: This is the part that sits directly on top of the spray mechanism, often covering the nozzle. It might be a simple decorative cap or a more integrated part of the spray head itself.
- Unscrew the cap: With a firm grip on the main body of the bottle, twist the cap counterclockwise. For most screw-top atomizers, the entire spray mechanism (including the tube that goes into the liquid) will detach from the bottle as you unscrew the cap. If it feels stiff, ensure you’re twisting the correct part. Sometimes, there’s a decorative outer shell that needs to be removed first, revealing the actual screw-top mechanism.
- Fill the atomizer (If Refilling): Once the spray mechanism is removed, you’ll have an open bottle.
- Use a funnel: For a mess-free experience, a small funnel is invaluable for pouring your perfume or liquid into the bottle.
- Syringe method: For precious liquids or very small openings, a perfume syringe
- Reassemble: Once filled, carefully screw the atomizer spray mechanism back onto the bottle clockwise until it’s snug and secure.
Type 2: The Crimped Atomizer (The “Permanent” Kind)
These atomizers are often found on commercially produced perfumes where the spray head is crimped onto the bottle, making it difficult to remove without specialized tools or damaging the bottle.
- How to identify: You won’t see any threads for screwing. The spray head will appear to be permanently attached to the glass neck of the bottle, with a metal ring tightly pressed around it.
- Specialized tools: There are tools designed to pry off crimped sprayers, but they require careful handling and can sometimes damage the bottle or sprayer. These are typically used in professional settings or by serious DIY perfume enthusiasts.
- Decanting without opening: If you have a crimped bottle and want to transfer its contents, the best method is often to use a perfume transfer pump or syringe that attaches directly to the nozzle, drawing the liquid out without needing to open the bottle. Some specialized atomizers are designed to be filled from the bottom by pressing them onto the nozzle of another spray bottle.
Type 3: Atomizer Bottles with a Removable Sprayer (Often for Essential Oils/DIY)
Some atomizer bottles, particularly those designed for essential oils or DIY blends, have a sprayer that isn’t screwed on but rather snapped or pressed into the bottle’s neck.
- How to identify: Like crimped bottles, you won’t see screw threads. However, the sprayer might have a slight lip or collar that suggests it can be pried off.
- Gentle prying: Use a thin, sturdy tool like a butter knife, a dedicated bottle opener for essential oil bottles, or even a strong fingernail.
- Leverage carefully: Insert the tool underneath the lip of the sprayer where it meets the bottle’s neck. Apply gentle, upward leverage, working your way around the sprayer if it’s stubborn. It should pop off with a firm, controlled motion.
Caution: Be careful not to chip the glass bottle. Once you’ve successfully opened, refilled, and reassembled your atomizer, always do a quick test spray in the air to ensure the mechanism is working correctly and there are no leaks.
Now you’re equipped with the knowledge to tackle various atomizer bottles, ensuring your favorite scents and solutions are always at your fingertips! Happy spritzing!
How to open stubborn perfume bottles?
A stubborn perfume bottle cap isn’t an unbeatable foe. Often, the issue is a slight vacuum, dried perfume residue, or simply a very tight seal. We’ve compiled a collection of genius tips and tricks to help you unlock your cherished perfume with ease and confidence.
Use rubber gloves
This is often the simplest and most effective first line of defense against a slippery or tightly sealed cap.
- Why it works: Rubber gloves (like those for washing dishes, or even rubber bands wrapped around the cap) provide exceptional friction. This increased grip allows you to apply more twisting force without your hand slipping.
- How to do it: Simply put on a pair of rubber gloves. Grip the bottle firmly with one hand and the cap with the other. Twist the cap counter-clockwise with consistent, firm pressure. You’ll be amazed at the difference a good grip makes!
The power of warm water
Heat is a fantastic way to gently expand glass, which can break the seal of a stuck cap.
- Why it works: Glass expands slightly when heated. By warming just the neck of the bottle and the base of the cap, you can cause the glass to expand, creating a tiny bit of space between the cap and the bottle’s opening, loosening its grip.
- How to do it:
- Fill a small bowl or cup with warm (not boiling hot!) water. The water should be comfortably warm to the touch.
- Carefully submerge only the neck and cap of the perfume bottle into the warm water for 2-3 minutes. Avoid getting water inside the bottle if possible, especially if it’s a spray atomizer where the cap is part of the mechanism.
- Remove the bottle, dry the cap and neck thoroughly with a towel (remembering the rubber gloves for grip!), and then try twisting the cap open. You might hear a small “pop” as the seal breaks.
The gentle strategic tapping
Sometimes, a bit of vibration is all it takes to dislodge a stubborn seal.
- Why it works: Gentle tapping can help to break any dried perfume residue that might be acting like glue, or disrupt a vacuum seal that has formed inside the bottle.
- How to do it:
- Hold the perfume bottle securely.
- Using the back of a spoon, the handle of a screwdriver, or even a pen, gently tap the top and sides of the cap. Don’t hit it hard enough to damage the bottle or the cap – think of it as a series of gentle nudges.
- Rotate the bottle as you tap to cover all sides of the cap.
- After a minute or so of tapping, try twisting the cap open.
Pilers to the rescue (Use with Extreme Caution!)
This is the last resort, only to be used if the previous methods have failed. Pliers provide significant leverage, and improper use can easily damage your bottle or the cap.
- Why it works: Pliers allow you to exert much more rotational force than your hands alone.
- How to do it (with extreme caution):
- Crucially, wrap the bottle in a soft, thick cloth or towel. This protects the glass from scratches, chips, or even shattering from the pressure of the pliers.
- You might also want to wrap a thin cloth around the cap itself to prevent the pliers from marring its surface.
- Position the jaws of the pliers securely around the cap. Ensure they have a firm grip without crushing it.
- With utmost care and slow, deliberate motion, gently twist the pliers counter-clockwise. Apply just enough pressure to turn the cap. If you feel resistance or hear creaking, stop immediately and re-evaluate.
- Never force it with excessive pressure. If it doesn’t budge with reasonable force, it’s safer to seek professional help (e.g., from a perfume store or even a jeweller who deals with delicate items) than to risk breaking a cherished bottle.
FAQs about perfume bottle
What if the stopper of a perfume bottle is stuck?
A stuck stopper can be frustrating, but don’t force it! Try running warm (not hot!) water over the neck of the bottle for about 30 seconds. The gentle heat helps the glass expand, loosening its grip. Alternatively, use a spoon or the handle of a wooden utensil to gently tap around the sides of the stopper.
How do I clean a clogged spray nozzle of a perfume bottle?
A sputtering or non-existent spray is a common issue! Grab a cotton swab dipped in rubbing alcohol. Carefully insert the swab into the tiny nozzle opening and swirl it around to dissolve any dried perfume or debris. You can also try a thin pin (gently!) to clear the path. Once clean, pump a few times to flush.
Is it safe to open vintage perfume bottles?
Yes, but approach with extra care! Vintage bottles are often more delicate and can be fragile. Always use minimal force and try our warm water and rubber glove tricks first.
How should I store my perfume bottles?
Always store your perfumes in a cool, dark place, away from direct sunlight, extreme temperatures, and humidity. This helps prevent caps and stoppers from sticking due to temperature fluctuations, and more importantly, it preserves the delicate chemical balance of your fragrance, ensuring your scent stays true and lasts longer.
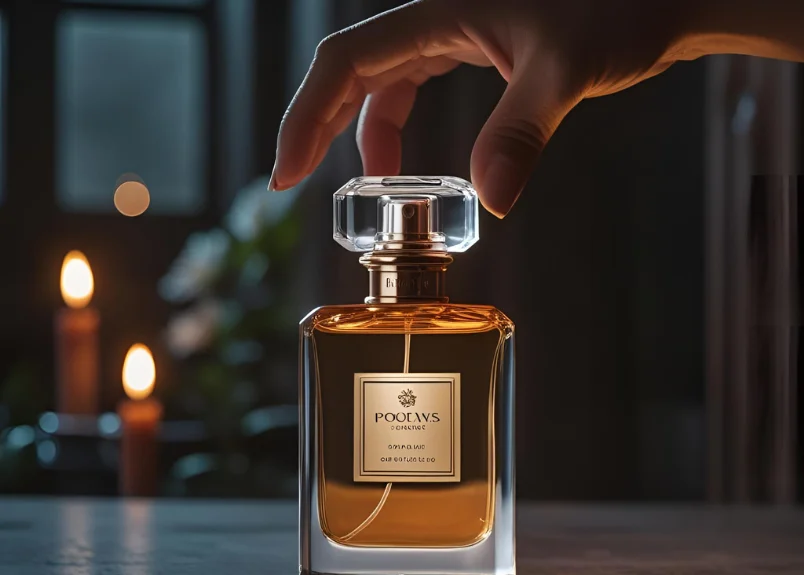
Final Word
From twisting stubborn caps with a rubber glove to coaxing out a stuck stopper with a warm water bath, you now have all the insider tips to conquer any perfume bottle. No more wrestling, no more frustration – just smooth, effortless access to your favourite scents. Go ahead, confidently uncap that precious bottle and let your fragrance journey begin!