How to keep matte lipstick from cracking?
At BeautyCaters, our expert team independently curates every recommended product. Purchases through our links may earn us a commission. Explore our transparent selection process.
Matte lipstick: bold, beautiful, and… prone to cracking? Not anymore! The epitome of chic, matte lipstick can be as flawless as you desired. What you need-the tricks of how to keep matte lipstick from cracking. And I am here with my secrets to confident, color-rich matte lips all day long.
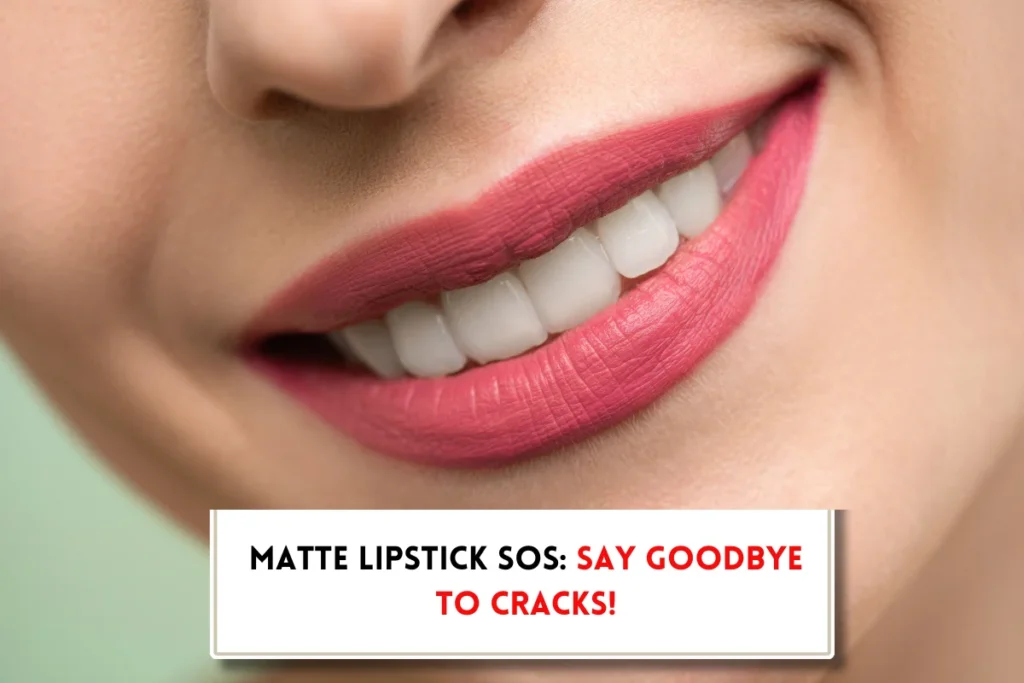
Why does matte lipstick crack?
Matte lipsticks are renowned for their bold, intense colors. However, their signature matte finish comes at a cost: dryness. Here’s the science behind it:
- Formulation: The inherent dryness of matte lipstick stems from its formulation. Matte lipsticks are formulated with a higher concentration of pigments compared to their glossy counterparts. This delivers those vibrant, bold and opaque hues we love, but also reduces the presence of oils which creates a smooth, moisturizing film on the lips, preventing dryness and cracking.
- Oil deprivation: Matte lipsticks, in their pursuit of an opaque, non-reflective finish, have minimized oil content. This lack of oil not only contributes to a drier feel but also disrupts the natural moisture balance of the lips. As a result, the delicate lip tissue can become dehydrated, leading to the formation of cracks and fissures.
- Lack of light reflection: The absence of shine in matte lipsticks exacerbates the issue. Glossy finishes, with their inherent oil content and light-reflecting properties, can help to mask imperfections and create a more hydrated appearance. Matte lipsticks, devoid of this optical illusion, tend to accentuate dryness and emphasize lip lines, making cracks more noticeable.
How to keep matte lipstick from cracking?
Before diving into the art of matte lipstick application, it’s crucial to lay the groundwork for a flawless finish. This begins with proper lip prep:
- Exfoliate and hydrate:
- Gently exfoliate your lips to remove any dead skin cells. This creates a smooth surface for even lipstick application and prevents the lipstick from settling into cracks.
- Use a soft toothbrush, a dedicated lip scrub, or a gentle sugar scrub.
- Massage gently in circular motions, avoiding harsh scrubbing.
- Rinse thoroughly with warm water and pat dry gently with a clean towel.
- Apply a generous layer of your favorite lip balm.
- Allow ample time for the balm to fully absorb into your lips. This typically takes around 10-15 minutes.
- Hydrated lips not only provide a more comfortable base for matte lipstick but also help prevent cracking and dryness.
- Define your pout with lip liner: Lip liner helps to create a sharper, more defined lip shape and with precise application you can achieve a polished, feather-free, long-lasting matte lipstick look. Here’s how to do it:
- Create a Cupid’s Bow: Lightly mark the center of your upper lip with a small “X” to define the peak of your Cupid’s bow.
- Outline the upper lip: Starting from the top point of the “X,” carefully trace along the natural contour of your upper lip, moving outwards towards the corners of your mouth.
- Outline the lower lip: Begin at the center of your lower lip and trace along the natural curve, extending outwards to meet the endpoint of your upper lip line.
- Prepare your matte lipstick (Optional)
- Palette application: If you’re using a lipstick palette, it’s beneficial to apply a small amount of lipstick to a clean surface (like the back of your hand or a palette) before applying it to your lips. This allows for easier blending and color control.
- Blending shades: Lipstick palettes often offer a range of shades. Experiment with blending different colors to create unique and customized hues.
- Apply matte lipstick
- Direct application: For a quick and effortless application, apply the lipstick directly from the tube. This method is ideal for those in a hurry or seeking a more casual look.
- The art of the lip brush: For precise application and enhanced control, a lip brush is your best friend. It allows for meticulous filling of the lips within the defined liner and minimizes the risk of straying outside the lines. This technique is particularly beneficial for achieving sharp, clean lines and a more defined lip shape.
- Conquering liquid lipstick: Liquid lipsticks can be a bit trickier to apply. Work swiftly and confidently to avoid streaks or a patchy finish. Consider applying the lipstick in thin layers, allowing each layer to dry slightly before applying the next.
- Fill in the canvas: Once you’ve chosen your application method, carefully fill in your lips within the lines created by the lip liner. Ensure even coverage for a polished look.
- Seamlessly blend in the edges: Blending ensures a smooth transition between your lipstick and your natural lip line,a more natural, effortless, smoother and even finish. Here’s how to blend:
- Soften the edges: Using a clean lip brush or a small, fluffy brush, gently smudge the outer edges of your lipstick application. This softens the lines and creates a more natural-looking transition.
- Blend inwards: For a truly seamless look, lightly smudge the inner edges of the lipstick towards the center of your lips. This helps to integrate the color and prevent any harsh lines from appearing.
- Perfecting the blend: Pay close attention to the area where the lipstick meets your natural lip line. Ensure a smooth and gradual transition for a truly polished finish.
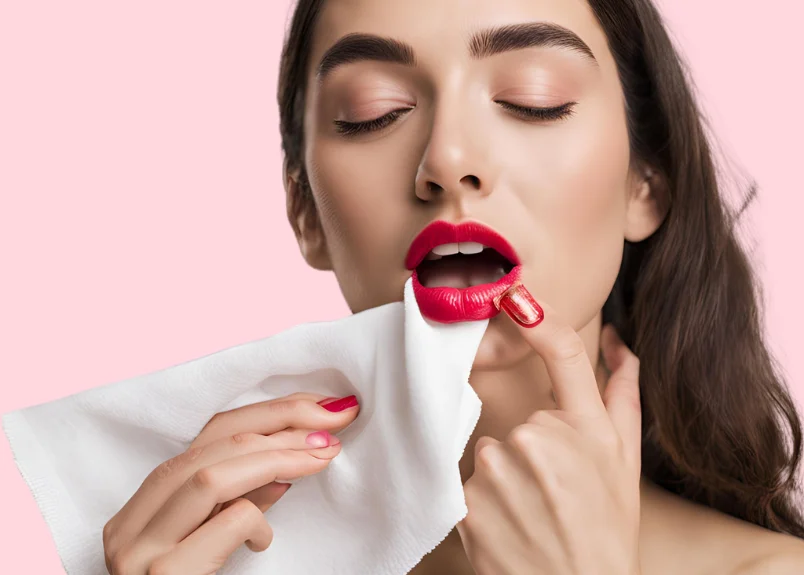
- Blot off the extra: To prevent excessive transfer and ensure your matte lipstick stays put, blotting is key:
- Gentle blotting: After applying your first coat of matte lipstick, gently blot your lips with a clean tissue. This removes any excess product that might transfer easily and helps to set the color.
- Layer and blot: If you desire more intense color, apply a second coat of lipstick and blot again. Repeat this process until you achieve your desired level of pigmentation. Use a clean tissue each time
- Blotting between coats: For precise application and better color control, consider using a lip brush to apply the lipstick in thin layers. Blot between each layer to prevent smudging and ensure a smooth, even finish.
Note: Avoid excessive blotting, as this can remove too much pigment and leave your lips looking patchy.
Also Read: Can you use lipstick as blush?
How to clean up and correct matte lipstick mistakes?
Even the most skilled makeup artists encounter minor mishaps. Here’s how to address any imperfections:
- Identify the issue: Carefully inspect your lips for any smudges, smears, or areas where the lipstick has strayed beyond the lip line.
- Clean up with precision: Dip a cotton swab in a small amount of makeup remover or micellar water. Gently dab the affected area to remove any excess lipstick.
- Conceal stubborn marks: For stubborn smudges, use a small concealer brush to carefully apply a touch of concealer to the affected area. Blend seamlessly with a clean brush or your fingertip.
- Retouch as needed: If necessary, reapply a small amount of lipstick to any areas where color was removed during the clean-up process.
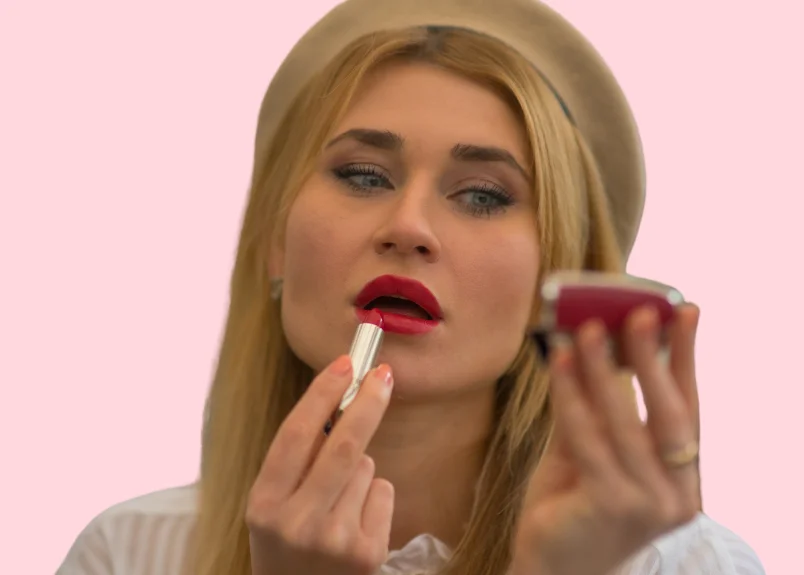
How to touch up matte lipstick without cracking?
- Choose the right products: Look for matte lipsticks that are formulated with hydrating ingredients, such as hyaluronic acid or shea butter. These will help to keep your lips moisturized and prevent cracking.
- Prep your lips: Exfoliate your lips gently to remove any dead skin cells. This will create a smooth surface for the lipstick to adhere to. Then, apply a lip balm to hydrate your lips.
- Use a lip brush: This will help you to apply the lipstick more precisely and avoid getting lipstick on your teeth.
- Apply in thin layers: Apply the lipstick in thin layers, blotting with a tissue between each layer. This will help to prevent the lipstick from cracking.
- Set with powder: Dust a translucent setting powder over your lips to help set the lipstick and prevent it from transferring.
- Touch up as needed: Throughout the day, you can touch up your lipstick by applying a small amount to the center of your lips and blending outwards.
- Avoid licking your lips: This can dry out your lips and cause the lipstick to crack.
- Stay hydrated: Drink plenty of water throughout the day to keep your lips hydrated from the inside out.
- Use a lip balm with SPF: This will help to protect your lips from the sun’s harmful rays, which can dry them out.
Final Word
Here you have it- the simple tricks to conquer those pesky cracking problem. So now get ready to rock and conquer the world with the perfectly polished matte pout without worrying about unsightly cracks.

